Flutter中富檔案標籤的解決方案
題記
—— 執劍天涯,從你的點滴積累開始,所及之處,必精益求精。

在實際業務開發中,時常會有這種一段Html格式的標籤,看下圖的情況 :
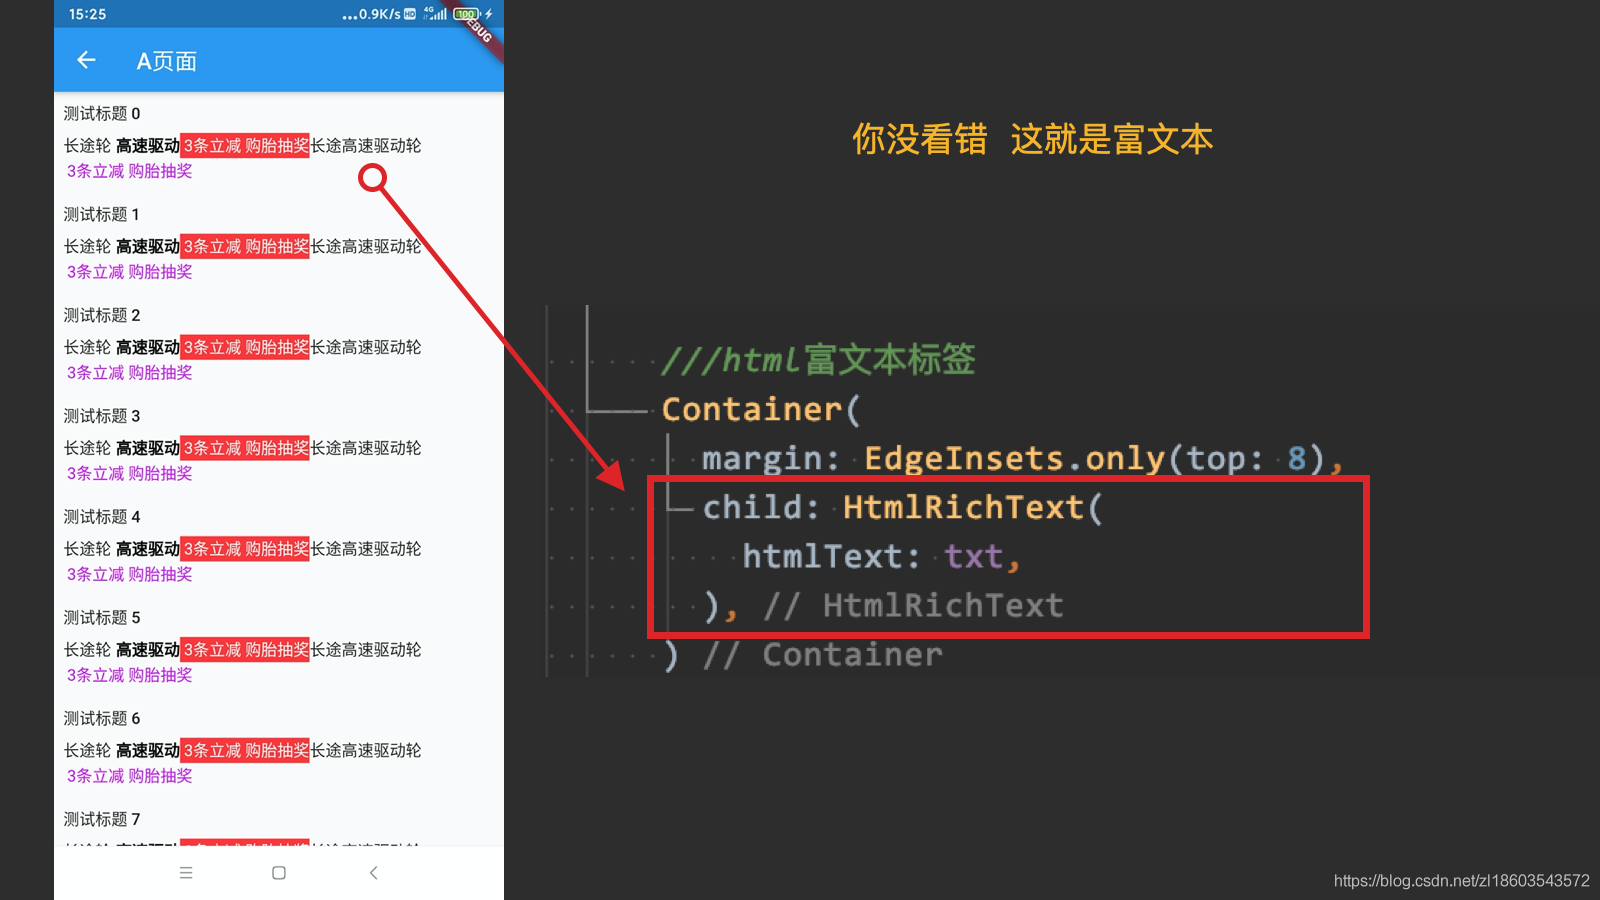
在 Flutter 中,有點發愁,因為 Flutter 提供的 Text 與 RichText 還解析不了這種格式的,但是你也不能使用 WebView 外掛,如果使用了,你會在每一個Item中嵌入一個瀏覽器核心,再強的手機,也會卡,當然肯定不能這樣做,因為這樣就是錯誤的做法。
小編經過大量的嘗試與思考,終於寫出來了一個外掛可以來解析了,現分享給大家。
1 基本使用實現
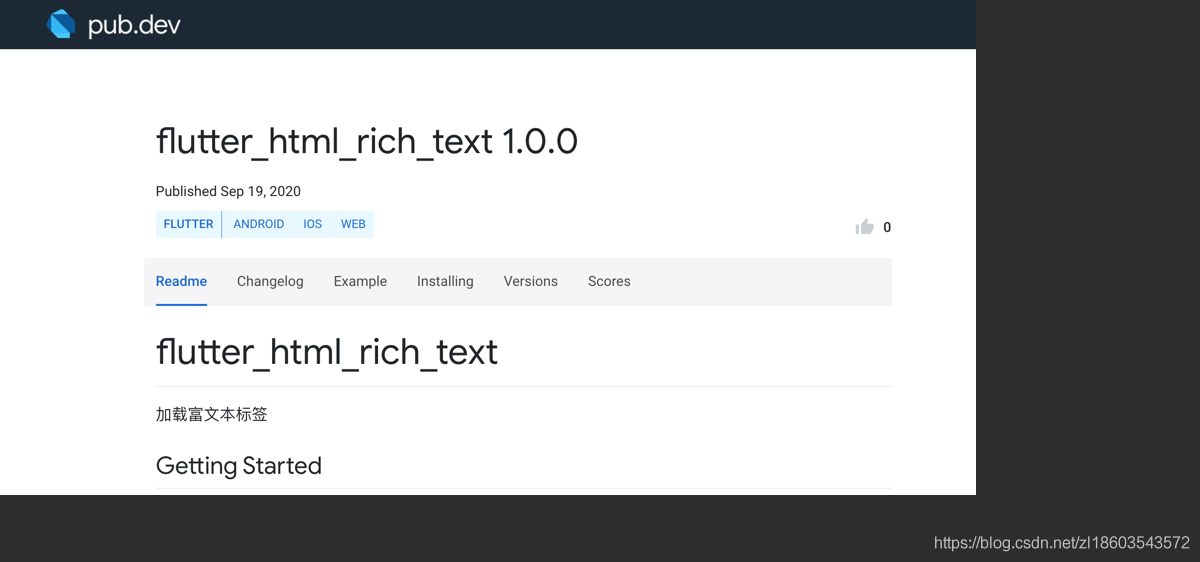
1.2 新增依賴
小編依舊,來個pub方式:【不用說 快捷入口在這】【當然也有github】 【誇張點還有 視訊支援】
dependencies:
  flutter_html_rich_text: ^1.0.0
1.3 載入解析 HTML 片段標籤
核心方法如下:
///htmlText 就是你的 HTML 片段了
 HtmlRichText(
  htmlText: txt,
 ),
如下程式碼清單 1-3-1 就是上述圖中的效果:
/// 程式碼清單 1-3-1
class TestHtmlPage extends StatefulWidget {
  @override
  _TestPageState createState() => _TestPageState();
}

class _TestPageState extends State<TestHtmlPage> {

  String txt =
      "<p>長途輪 <h4>高速驅動</h4><span style='background-color:#ff3333'>"
      "<span style='color:#ffffff;padding:10px'> 3條立減 購胎抽獎</span></span></p>"
      "<p>長途高速驅動輪<span ><span style='color:#cc00ff;'> 3條立減 購胎抽獎</span></span></p>";

  @override
  Widget build(BuildContext context) {
    return Scaffold(
      ///一個標題
      appBar: AppBar(title: Text('A頁面'),),
      body: Center(
        ///一個列表
        child: ListView.builder(
          itemBuilder: (BuildContext context, int postiont) {
            return buildItemWidget(postiont);
          },
          itemCount: 100,
        ),
      ),
    );
  }

  ///ListView的條目
  Widget buildItemWidget(int postiont) {
    return Container(
      ///內容邊距
      padding: EdgeInsets.all(8),
      child: Column(
        ///子Widget左對齊
        crossAxisAlignment: CrossAxisAlignment.start,

        ///內容包裹
        mainAxisSize: MainAxisSize.min,
        children: [
          Text(
            "測試標題 $postiont",
            style: TextStyle(fontWeight: FontWeight.w500),
          ),

          ///html富文字標籤
          Container(
            margin: EdgeInsets.only(top: 8),
            child: HtmlRichText(
              htmlText: txt,
            ),
          )
        ],
      ),
    );
  }
}
以下是解析思考 燒腦的實踐
2 燒腦思考實踐一
Flutter 應用程式被 Android iOS平臺載入,在原生 Android 中,使用TextView就可輕鬆實現解析(如下程式碼清單2-1),當然在iOS中使用UILabel也可輕鬆實現(如下程式碼清單2-2)。
// Android 原生 TextView載入Html的核心方法
//程式碼清單2-1
// MxgsaTagHandler 定義的一個 TagHandler 用來處理點選事件
lTextView.setText(Html.fromHtml(myContent, null, new MxgsaTagHandler(context)));
lTextView.setClickable(true);
lTextView.setMovementMethod(LinkMovementMethod.getInstance());
// iOS 原生 UILabel載入Html的核心方法
//程式碼清單2-2
//返回的HTML文字 如 <font color = 'red'></font>
NSString *str = @"htmlText";
NSString *HTMLString = [NSString stringWithFormat:@"<html><body>%@</body></html>", str ];


NSDictionary *options = @{NSDocumentTypeDocumentAttribute : NSHTMLTextDocumentType,
                          NSCharacterEncodingDocumentAttribute : @(NSUTF8StringEncoding)
                          };
NSData *data = [HTMLString dataUsingEncoding:NSUTF8StringEncoding];

NSMutableAttributedString * attributedString = [[NSMutableAttributedString alloc] initWithData:data options:options documentAttributes:nil error:nil];

NSMutableParagraphStyle *paragraphStyle = [[NSMutableParagraphStyle alloc] init];   // 調整行間距
paragraphStyle.lineSpacing = 8.0;
paragraphStyle.alignment = NSTextAlignmentJustified;
[attributedString addAttribute:NSParagraphStyleAttributeName value:paragraphStyle range:NSMakeRange(0, attributedString.length)];

[attributedString addAttribute:NSFontAttributeName value:[UIFont systemFontOfSize:15] range:NSMakeRange(0, attributedString.length)];


_uiLabel.backgroundColor = [UIColor cyanColor];
_uiLabel.numberOfLines = 0;
_uiLabel.attributedText = attributedString;
[_uiLabel sizeToFit];
然後對於 Flutter 來講是可以順利的載入原生 View的 【在這有講述】,如下程式碼清單 2-3所示就是在Flutter中通過 AndroidView 與 UiKitView來實現。
  //Flutter中載入原生View核心方法
  //程式碼清單2-3
  buildAndroidView() {
    return AndroidView(
      //設定標識
      viewType: "com.studyon./text_html",
      //引數的編碼方式
      creationParamsCodec: const StandardMessageCodec(),
    );
  }

  /// 通過 UiKitView 來載入 iOS原生View
  buildUIKitView() {
    return UiKitView(
      //標識
      viewType: "com.studyon./text_html",
      //引數的編碼方式
      creationParamsCodec: const StandardMessageCodec(),
    );
  }
於是小編開發了第一波操作,開發了這樣的一個外掛來呼叫原生 View 實現渲染富文字標籤【原始碼在這裡】,這個外掛使用方式很簡單,如下所示:
HTMLTextWidet(
  htmlText: "測試一下",
 )
這一步操作真是所謂的騷操作,其實小編在開發前就覺得不太合適,不過以小編的個性,非得嘗試驗證一下,現結果出來了,就是在載入時,由於應用在列表中,使用 HTMLTextWidet 會有短暫的黑畫面效果,而且記憶體出吃不消,如下圖所示:
為什麼會黑畫面,閒魚技術團隊有過論述在Flutter中嵌入Native元件的正確姿勢 以及 文章 深入瞭解Flutter介面開發中有詳細論述 。
所以結果是 :不可行。
3 燒腦思考實踐二
用 Java 的思想來解析 String 的方式來處理 HTML 字串,處理成小片段,然後使用Text結合 流式佈局 Wrap 來組合,核心程式碼如下清單 3-1 所示為解析:
  /*
   解析標籤
   */
  List<TagColorModel> findBackGroundColor(String htmlStr) {
    List<TagColorModel> tagColorModelList = [];
    List<String> colorSpiltList = [];
    String driverAdvertisement = htmlStr;
    if (driverAdvertisement != null) {

      colorSpiltList = driverAdvertisement.split("background-color");

      for (var i = 0; i < colorSpiltList.length; i++) {
        TagColorModel itemColorModel = TagColorModel();
        String colorsStr = colorSpiltList[i];
        List<String> itemSpiltList = colorsStr.split(":#");
        for (var j = 0; j < itemSpiltList.length; ++j) {
          String item = itemSpiltList[j];
          String itemColor = "";
          String itemText = "";
          try {
            if (item.length >= 6) {
              itemColor = item.toString().substring(0, 6);
              if (itemColor.trim().toUpperCase() == "FFFFFF") {
                itemColorModel.backGroundColor = ColorUtils.getRandomColor();
              } else {
                itemColorModel.backGroundColor = new Color(
                    int.parse(itemColor.trim(), radix: 16) + 0xFF000000);
              }
              int startIndex = item.indexOf("\">");
              int endIndex = item.indexOf("</");
              if (startIndex != -1 && endIndex >= startIndex) {
                LogUtil.e("startIndex  $startIndex  endIndex $endIndex ");
                itemText = item.substring(startIndex + 2, endIndex);
                LogUtil.e("itemColor  $itemColor  itemText $itemText ");
                itemColorModel.text = itemText;
                tagColorModelList.add(itemColorModel);
              }
            }
          } catch (e) {
            ///解析異常的 不必處理
          }
        }
      }
    }
    LogUtil.e("${tagColorModelList.length} \n\n ");
    return tagColorModelList;
  }
然後 TagColorModel 的定義如下程式碼清單 3-2所示:
///程式碼清單 3-2
class TagColorModel {
  ///背景
  Color backGroundColor;
 ///文字顏色
  Color textColor;
 ///文字
  String text;

  TagColorModel(
      {this.text = "",
      this.backGroundColor = Colors.transparent,
      this.textColor = Colors.white});
}
然後就是使用 Wrap 來使用解析的內容,如下程式碼清單3-3所示:
///程式碼清單 3-3
///獲取背景顏色
  List<TagColorModel> colorList = findBackGroundColor(htmlStr);

  List<Widget> tagList = [];

  for (var i = 0; i < colorList.length; ++i) {
    TagColorModel model = colorList[i];

    tagList.add(Container(
      margin: EdgeInsets.only(right: 2, left: 4, top: 4),
      padding: EdgeInsets.only(left: 6, right: 6),
      decoration: BoxDecoration(
        color: model.backGroundColor,
        borderRadius: BorderRadius.all(Radius.circular(2)),
      ),
      child: Text(
        "${model.text}",
        style: TextStyle(fontSize: 12, color: model.textColor),
      ),
    ));
  }

  ///然後再使用 Wrap 包裹
  Wrap(
	alignment: WrapAlignment.spaceBetween,
 	 children: tagList,
  ),
實踐結果:可行,但是有相容性差,效率低。
當然閒魚團隊在文章 如何低成本實現Flutter富文字,看這一篇就夠了! 中也有詳細論述。
4 燒腦思考實踐三
當在Flutter中 Dart 從網站中提取資料時,html依賴庫是一個不錯的選擇,html 是一個開源的 Dart 包,主要用於從 HTML 中提取資料,從中獲取節點的屬性、文字和 HTML以及各種節點的內容。Html pub倉庫
dependencies:
  html: ^0.14.0+3
於是乎小編也開始嘗試,首先是使用 Html 庫解析 HTML文字塊,將解析的 Document 通過遞迴方式遍歷出來所有的 node 節點,如下程式碼清單4-1所示:
程式碼清單4-1
import 'package:html/parser.dart' as parser;
import 'package:html/dom.dart' as dom;

List<Widget> parse(String originHtmlString) {
  // 空格替換 去除所有 br 標籤用 \n 代替,
  originHtmlString = originHtmlString.replaceAll('<br/>', '\n');
  originHtmlString = originHtmlString.replaceAll('<br>', '\n');
  originHtmlString = originHtmlString.replaceAll('<br />', '\n');

  ///html 依賴庫解析
  dom.Document document = parser.parse(originHtmlString);
  ///獲取 DOM 中的 node 節點
  dom.Node cloneNode = document.body.clone(true);

 // 注意: 先序遍歷找到所有關鍵節點(由於是參照傳值,所以需要重新獲取一遍 hashCode)
  List<dom.Node> keyNodeList = new List<dom.Node>();
  int nodeIndex = 0;
  ///遞迴遍歷
  parseNodesTree(cloneNode, callBack: (dom.Node childNode) {
    if (childNode is dom.Element &&
        truncateTagList.indexOf(childNode.localName) != -1) {
      print('TEST: truncate tag nodeIndex = ${nodeIndex++}');
      keyNodeList.add(childNode);
      // 注意: 對於佔據整行的圖片也作為關鍵節點處理
    } else if (childNode is dom.Element &&
        childNode.localName == 'img' &&
        checkImageNeedNewLine(childNode)) {
      print('TEST: one line image nodeIndex = ${nodeIndex++}');
      keyNodeList.add(childNode);
    }
  });

}
///遞迴遍歷
void parseNodesTree(dom.Node node,
    {NodeTreeCallBack callBack = printNodeName}) {
  ///遍歷 Node 節點
  for (var i = 0; i < node.nodes.length; ++i) {
    dom.Node item = node.nodes[i];
    callBack(item);
    parseNodesTree(item, callBack: callBack);
  }
}
然後就是將 得出的 node 節點 與 Flutter 元件對映,文字使用 TextSpan ,圖片使用 Image ,然後將 樣式使用 TextStyle 對映,然後最後將解析的結果元件使用 Wrap 來包裹,就達到了現在的外掛 flutter_html_rich_text
綜合實現思路就是 使用 HTML 庫完善了【燒腦思考實踐二】中的解析。
解析篇幅較長,大家有興趣可以看下 github 原始碼。
目前小編在西瓜視訊上免費刊登 Flutter 系列教學,每日更新,歡迎關注接收提醒點選檢視提示 各種系列的教學
2020.09.12 開發筆記