Ubuntu16.04編譯環境下將ASN.1轉成C程式下的.c和.h原始檔和結構體
2020-08-11 23:14:29
ASN.1官網:http://lionet.info/asn1c/examples.html
1、編譯環境
實驗平臺:ubuntu16.04
2、ASN.1介紹
ASN.1是定義抽象數據型別規格形式的標準。是用於描述數據的表示、編碼、傳輸、解碼的靈活的記法。它提供了一套正式、無歧義和精確的規則,以描述獨立於特定計算機硬體的物件結構。
ASN.1是通訊協定中描述數據傳輸的正式標記(notation),它與語言實現和物理表示無關,與應用的複雜度無關。ASN.1特別適合表示現代通訊應用中那些複雜的、變化的及可延伸的數據結構。
ASN.1發送任何形式(音訊、視訊、數據等等)的資訊都必須用數位傳送。ASN.1只能包含資訊的結構方面(沒有已經定義的或考慮到的處理數據值的操作)。它不是一個程式語言。 ASN.1格式數據有多種編碼方式,包括BER、DER、XER、PER/UPER等。
3、ASN.1範例
3.1 ASD1C
ASD1C是ASN.1的c/c++範例。
範例功能:
(1)本工程將ASN檔案編譯爲.c和.h檔案,通過呼叫API實現UPER編碼和解碼。
(2)編寫了一個UDP的client和server端,對數據傳輸進行了測試。
(3)網上的例程只涉及到BER編碼,沒有關於UPER編碼的歷程,本工程採用UPER編碼。
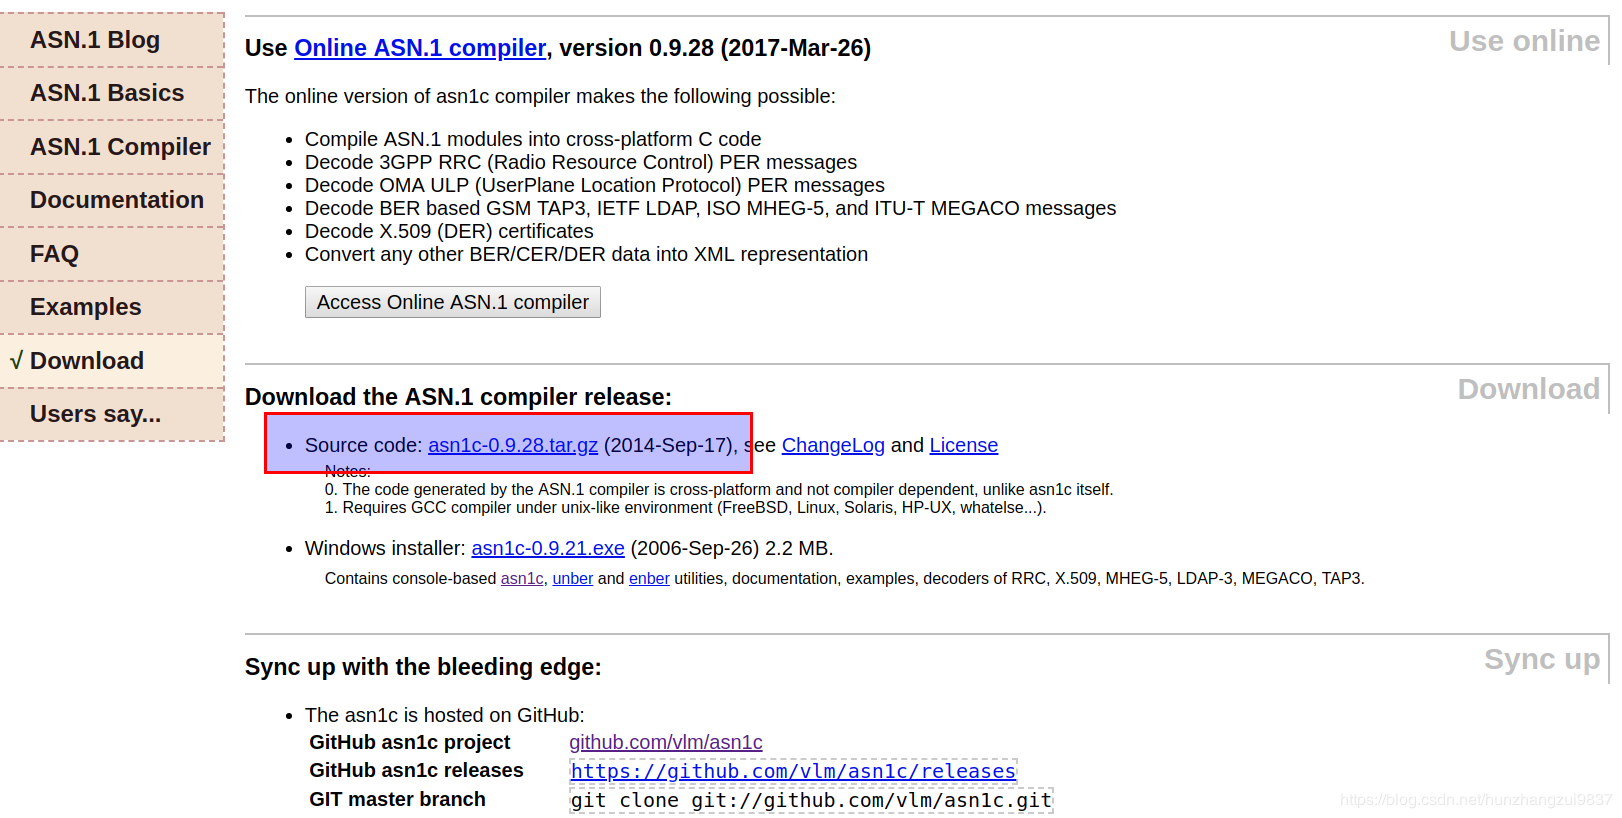
3.2 下載ADN1C工具
下載地址:http://lionet.info/asn1c/download.html
3.3 編譯ADN1C工具
下載之後進行解壓
sudo tar xf asn1c-0.9.28.tar.gz
然後進入解壓目錄,執行
cd asn1c-0.9.28/
編譯安裝
參考該目錄檔案INSTALL.md:
 ## Compiling From Sources
 ### Configure Configure with the default settings:     test -f configure || autoreconf -iv    ./configure    makeConfigure with non-standard settings: asn1c specific ./configure options include:     --enable-Werror    --enable-ASN_DEBUGinvoke `./configure --help` for details.
 ### Build Build the libraries and the compiler:     makeEnsure asn1c is still behaving well after compiling on your platform:     make check
 ### Install Install the compiler into a standard location:     make install    # Use ./configure --prefix to override install location.Display the `asn1c` manual page:     man asn1c
 ## Quick Usage Guide For a usage guide and more information please refer to:  * the [README.md](README.md) file * the asn1c manual page `man asn1c` * the included quick start PDF [doc/asn1c-quick.pdf](doc/asn1c-quick.pdf) * the comprehensive usage documentation [doc/asn1c-usage.pdf](doc/asn1c-usage.pdf) In case of any difficulties with installing the compiler, consider usingthe Online ASN.1 Compiler at http://lionet.info/asn1c. -- Lev [email protected]
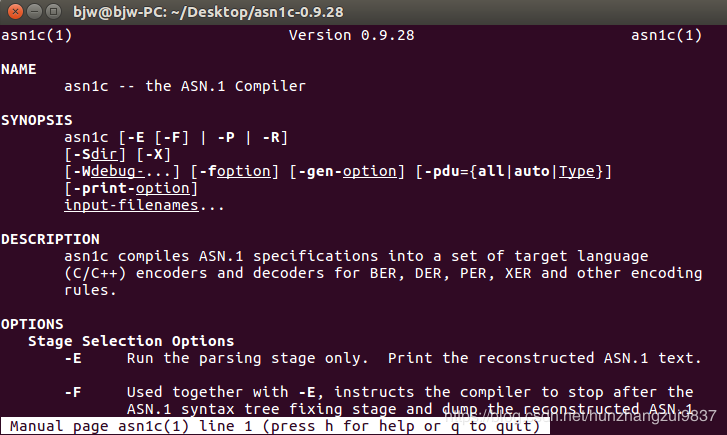
最後執行man ans1c,進行驗證:
3.4 建立一個.asn檔案
建立一個目錄asn_send
sudo mkdir asn_sendcd asn_send/
建立一個.asn檔案,以Traffic_light.asn爲例
sudo touch Traffic_light.asnvim Traffic_light.asn
裏面按照asn格式填充數據:
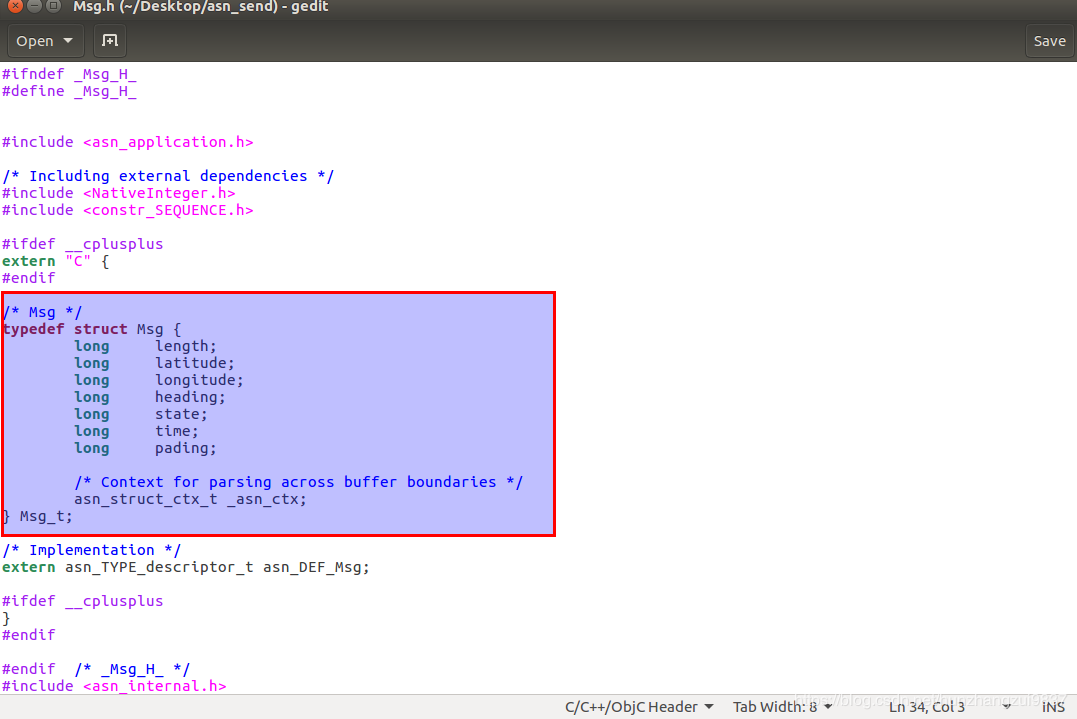
MsgTest DEFINITIONS ::=BEGIN Msg ::= SEQUENCE{ length INTEGER, latitude INTEGER, -- latitude of traffic longitude INTEGER, -- longitude of traffic heading INTEGER, state INTEGER, time INTEGER, pading INTEGER }END
3.5 編譯.asn檔案
利用ans1c工具進行編譯,選擇PER編碼格式
asn1c -gen-PER *.asn
編譯之後出現很多.c和.h檔案,可以從Msg.h看到我們定義的結構體。