基於Electron24+Vite4+Vue3搭建桌面端應用
一說到建立桌面應用,就不得不提及Electron和Tauri框架。這次給大家主要分享的是基於electron最新版本整合vite4.x構建vue3桌面端應用程式。
之前也有使用vite2+vue3+electronc建立桌面端專案,不過 vue-cli-plugin-electron-builder 腳手架外掛構建的專案electron版本只有13.x。如今electron版本都到了24,顯然不能再用之前的方法建立專案了。於是閒暇時間就搗鼓了electron24+vite4搭建桌面程式,中間踩了不少坑,現記錄如下,希望對大家有所幫助~~
版本資訊
vite: ^4.3.2
vue: ^3.2.47
electron: ^24.4.0
electron-builder: ^23.6.0
建立vite4+vue3專案
vite官網提供了npm/yarn/pnpm等方式建立vue3專案。
yarn create vite electron-vite4-vue3
cd electron-vite4-vue3
yarn install
yarn dev
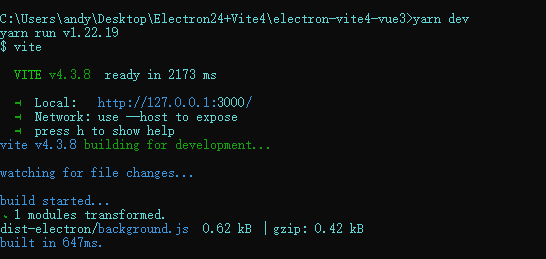
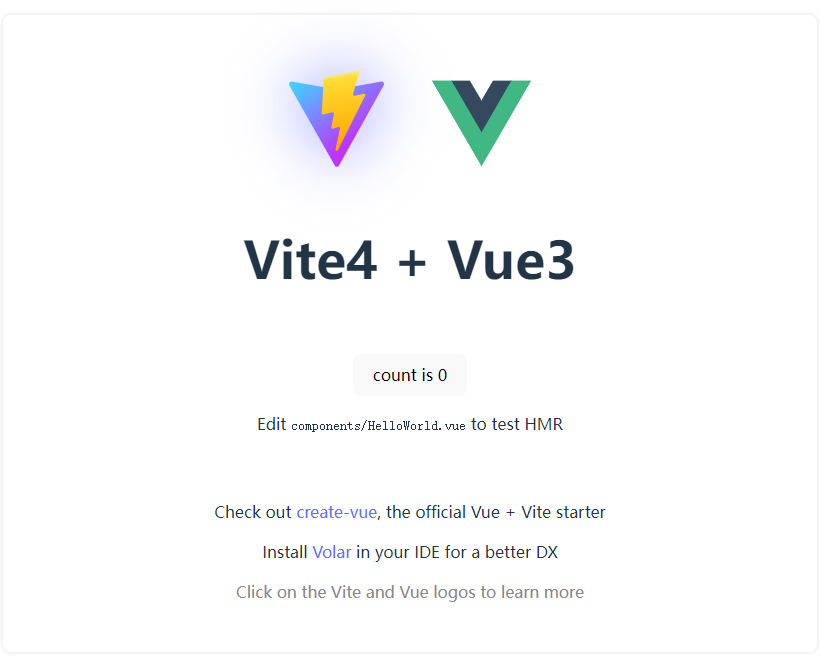
到這裡一個簡單的vite3+vue3專案就初始化好了。
安裝Electron及相關依賴包
基礎vue3專案建立好後,需要在專案中安裝一些electron依賴的包。如果在安裝過程中卡住或失敗,建議切換淘寶映象,使用cnpm安裝。
# 安裝electron
yarn add -D electron

# 安裝electron-builder 用於打包可安裝exe程式和綠色版免安裝exe程式
yarn add -D electron-builder

# 安裝electron-devtools-installer 用於開發偵錯electron
yarn add -D electron-devtools-installer
到這一步還需要安裝一個構建electron程式的vite外掛 vite-plugin-electron
yarn add -D vite-plugin-electron
vite-plugin-electron :用於構建electron應用程式的vite外掛。僅需少量設定,即可快速整合vite electron開發環境。
該外掛整合了Vite和Electron,方便在渲染程序中使用Node API或者Electron API功能。
https://github.com/electron-vite/vite-plugin-electron

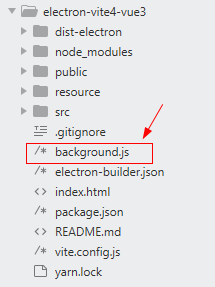
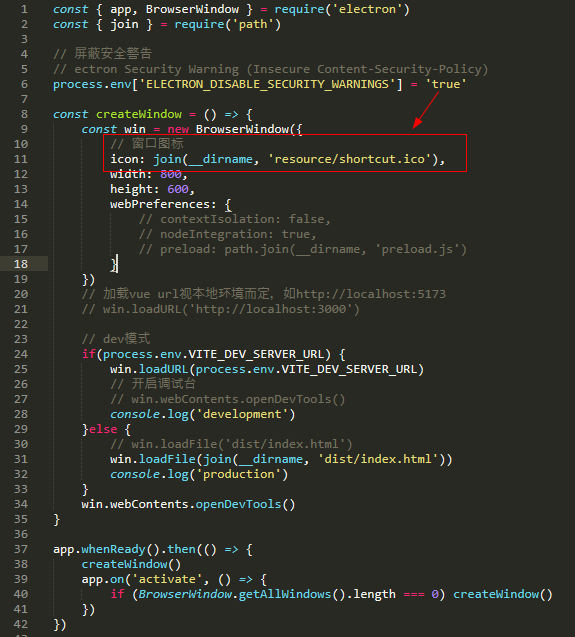
新建主程序檔案
在專案根目錄新建background.js檔案,編寫主程序程式碼。
const { app, BrowserWindow } = require('electron')
const { join } = require('path')

// 遮蔽安全警告
// ectron Security Warning (Insecure Content-Security-Policy)
process.env['ELECTRON_DISABLE_SECURITY_WARNINGS'] = 'true'

const createWindow = () => {
    const win = new BrowserWindow({
        // 視窗圖示
        icon: join(__dirname, 'resource/shortcut.ico'),
        width: 800,
        height: 600,
        webPreferences: {
            // contextIsolation: false,
            // nodeIntegration: true,
            // preload: path.join(__dirname, 'preload.js')
        }
    })
    // 載入vue url視本地環境而定,如http://localhost:5173
    // win.loadURL('http://localhost:3000')

    // development模式
    if(process.env.VITE_DEV_SERVER_URL) {
        win.loadURL(process.env.VITE_DEV_SERVER_URL)
        // 開啟偵錯臺
        win.webContents.openDevTools()
    }else {
        win.loadFile(join(__dirname, 'dist/index.html'))
    }
}

app.whenReady().then(() => {
    createWindow()
    app.on('activate', () => {
        if (BrowserWindow.getAllWindows().length === 0) createWindow()
    })
})

app.on('window-all-closed', () => {
    if (process.platform !== 'darwin') app.quit()
})
接下來在vite.config.js中引入vite-plugin-electron外掛,設定主程序入口,將electron和vite專案結合起來。
import { defineConfig } from 'vite'
import vue from '@vitejs/plugin-vue'
import electron from 'vite-plugin-electron'

// https://vitejs.dev/config/
export default defineConfig({
    plugins: [
        vue(),
        electron({
            // 主程序入口檔案
            entry: 'background.js'
        })
    ],
    /*開發伺服器選項*/
    server: {
        // 埠
        port: 3000,
    }
})
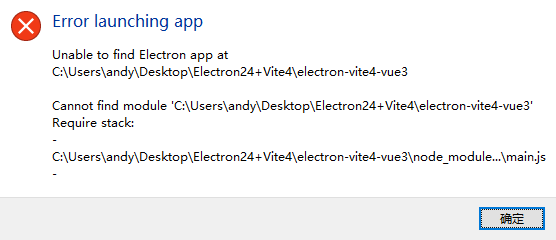
如果到這一步,執行yarn dev會報錯,需要在package.json檔案中加入 "main": "background.js" 入口設定。
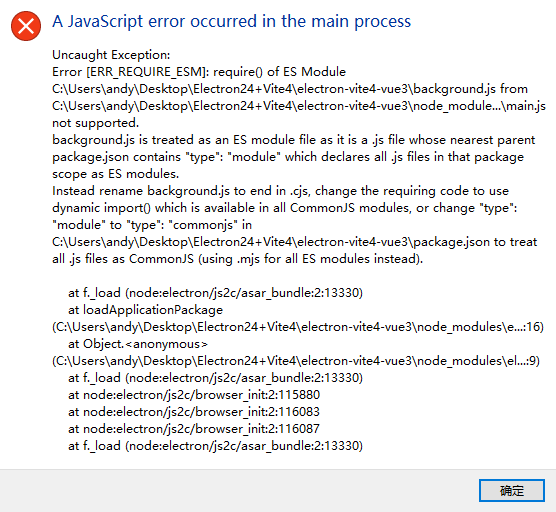
如果報錯如下,需要去掉package.json檔案中 "type": "module" 設定。
完整的package.json設定如下
{
  "name": "electron-vite4-vue3",
  "private": true,
  "version": "0.0.0",
  "description": "基於Electron24+Vite4.x+Vue3搭建專案框架",
  "author": "andy <[email protected]>",
  "copyright": "MIT License(MIT) ©2023 Andy",
  "main": "background.js",
  "scripts": {
    "dev": "vite",
    "build": "vite build",
    "preview": "vite preview",
    "electron:serve": "vite --host",
    "electron:build": "vite build && electron-builder"
  },
  "dependencies": {
    "vue": "^3.2.47"
  },
  "devDependencies": {
    "@vitejs/plugin-vue": "^4.1.0",
    "electron": "^24.4.0",
    "electron-builder": "^23.6.0",
    "electron-devtools-installer": "^3.2.0",
    "vite": "^4.3.2",
    "vite-plugin-electron": "^0.11.2"
  }
}
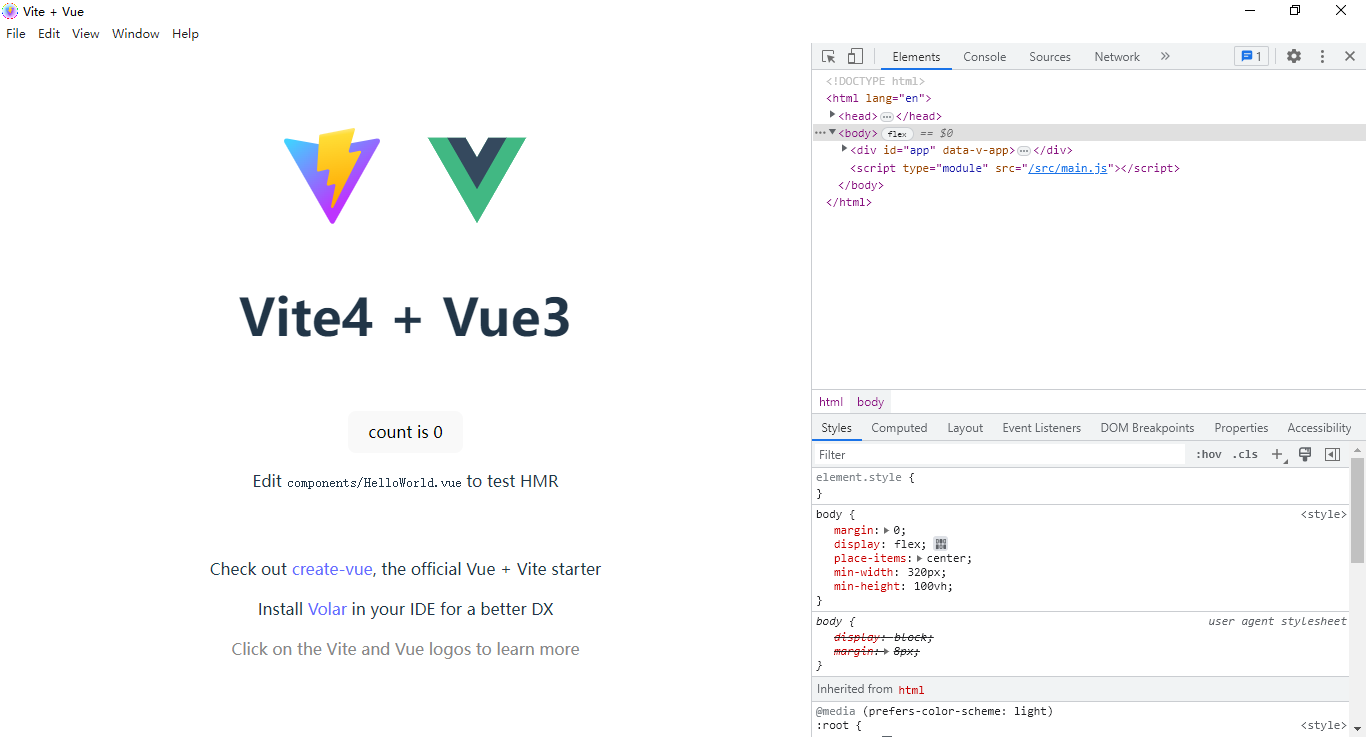
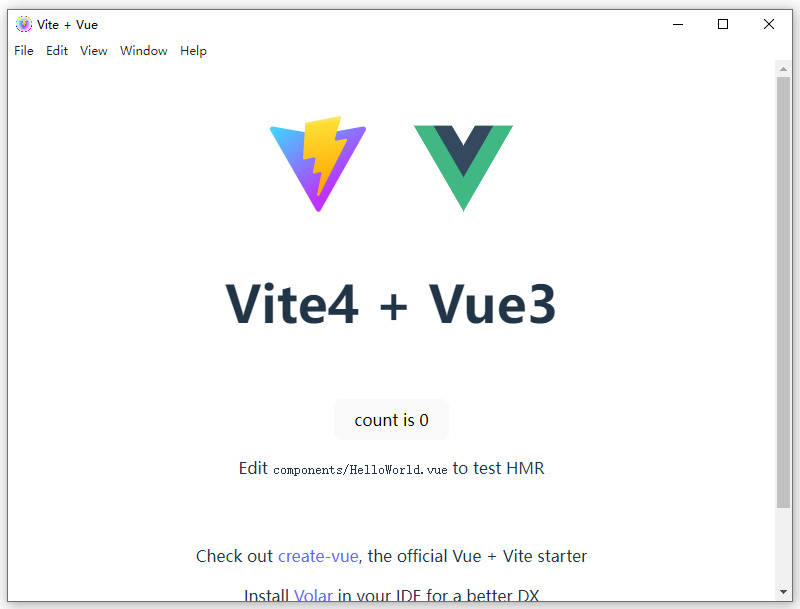
到這裡,yarn dev啟動專案,就能成功執行了。
electron-builder打包設定
專案已經執行起來了,接下來就需要設定一些electron-builder打包指令碼了。在專案根目錄新建electron-builder.json組態檔。
話不多說,直接上程式碼:
{
    "productName": "ElectronVite4Vue3",
    "appId": "cc.xiaoyan.electron-vite4-vue3",
    "copyright": "Copyright © 2023-present Andy",
    "compression": "maximum",
    "asar": true, // 打包格式壓縮
    "directories": {
        "output": "release/${version}"  // 打包輸出目錄
    },
    // 設定extraResources後,electron-builder會在打包時將extraResources中指定的檔案複製到打包後應用程式的根目錄/resources資料夾下
    /*"extraResources": [
        {
            "from": "./resource",
            "to": "resource"
        }
    ],*/
    "nsis": {
        "oneClick": false,
        "allowToChangeInstallationDirectory": true,
        "perMachine": true,
        "deleteAppDataOnUninstall": true,
        "createDesktopShortcut": true,
        "createStartMenuShortcut": true,
        "shortcutName": "ElectronVite4Vue3"
    },
    "win": {
        "icon": "./resource/shortcut.ico",
        "artifactName": "${productName}-v${version}-${platform}-${arch}-setup.${ext}",
        "target": [
            {
                "target": "nsis",
                "arch": ["ia32"]
            }
        ]
    },
    "mac": {
        "icon": "./resource/shortcut.icns",
        "artifactName": "${productName}-v${version}-${platform}-${arch}-setup.${ext}"
    },
    "linux": {
        "icon": "./resource",
        "artifactName": "${productName}-v${version}-${platform}-${arch}-setup.${ext}"
    }
}
打包構建
yarn electron:build
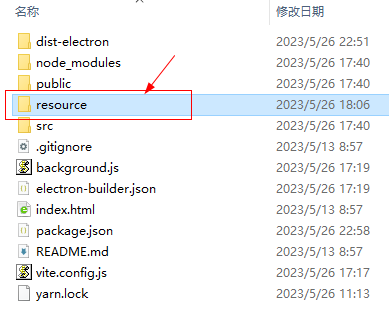
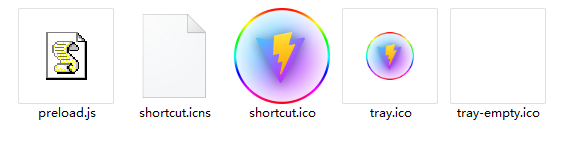
圖示等資原始檔放在resource目錄下
打包後顯示的工作列及程式圖示。

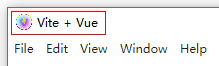
打包程式圖示設定
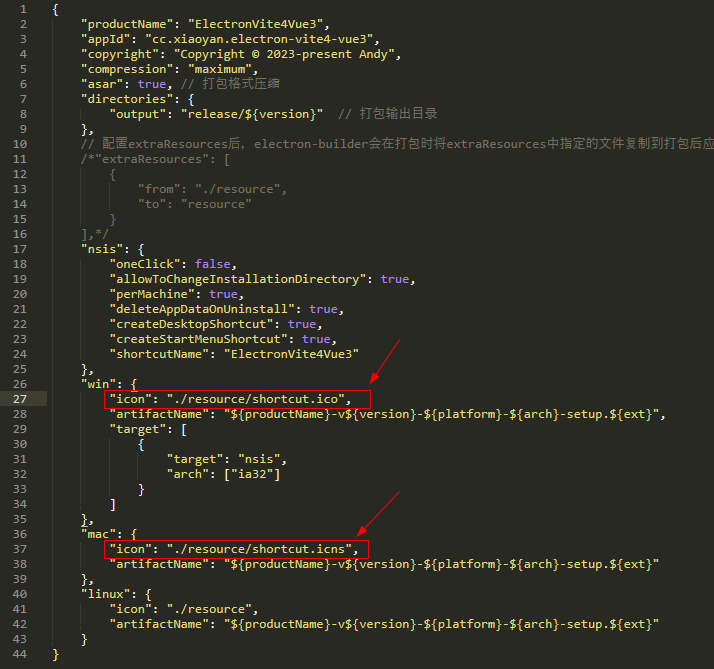
視窗圖示設定
主程序中的__dirname變數指向當前主程序檔案的目錄。
至此一個簡易版的electron24+vite4跨端專案就搭建好了,至於主程序/渲染程序之間的通訊後續再分享哈~~
