springboot實現驗證碼功能
2023-11-27 21:00:54
轉載自 : www.javaman.cn
1、編寫工具類生成4位元亂數
該工具類主要生成從0-9,a-z,A-Z範圍內產生的4位元亂數
/**
     * 產生4位元隨機字串
     */
    public static String getCheckCode() {
        String base = "0123456789ABCDEFGHIJKLMNOPQRSTUVWXYZabcdefghijklmnopqrstuvwxyz";
        int size = base.length();
        Random r = new Random();
        StringBuffer sb = new StringBuffer();
        for (int i = 1; i <= 4; i++) {
            //產生0到size-1的隨機值
            int index = r.nextInt(size);
            //在base字串中獲取下標為index的字元
            char c = base.charAt(index);
            //將c放入到StringBuffer中去
            sb.append(c);
        }
        return sb.toString();
    }
2、編寫常數類
使用者常數的繫結,所有的常數都可以在ConfigConsts中定義,方便管理。
import java.util.Arrays;
import java.util.List;

public interface ConfigConsts {
    /**
     * 驗證碼存session
     */
    String IMAGE_CODE_SESSION = "IMAGE_CODE";
}
3、獲取驗證碼介面
這段程式碼的主要作用是為使用者生成一個圖片驗證碼,並將其顯示在瀏覽器中。當呼叫該程式碼對應的URL時,伺服器會建立一個包含隨機驗證碼的圖片,並將此驗證碼儲存在使用者的對談中,然後將該圖片傳送給使用者的瀏覽器顯示
     /**
     * 驗證碼
     */
    @RequestMapping("/getImgCode")
    public void getImgCode(HttpServletRequest request, HttpServletResponse response) {
        int width = 80;
        int height = 30;
        BufferedImage image = new BufferedImage(width, height, BufferedImage.TYPE_INT_RGB);
        //獲取畫筆
        Graphics graphics = image.getGraphics();
        //設定畫筆顏色為白色
        graphics.setColor(Color.white);
        //填充圖片
        graphics.fillRect(0, 0, width, height);
        //設定畫筆顏色為黑色
        graphics.setColor(Color.black);
        //設定字型的小大
        graphics.setFont(new Font("黑體", Font.BOLD, 24));
        //產生4個隨機驗證碼
        String checkCode = CommonUtil.getCheckCode();
        //將驗證碼放入HttpSession中
        HttpSession session = request.getSession();
        session.setAttribute(ConfigConsts.IMAGE_CODE_SESSION, checkCode);
        //向圖片上寫入驗證碼
        graphics.drawString(checkCode, 15, 25);
        //將記憶體中的圖片輸出到瀏覽器
        try {
            response.setContentType("image/png");
            ImageIO.write(image, "PNG", response.getOutputStream());
        } catch (IOException e) {
            e.printStackTrace();
        }
    }
4、controller跳轉到登入頁
對「/loginPage」的GET請求,並將使用者重定向到登入頁面。當呼叫這個URL時,系統會返回一個名為"login"的檢視(通常是一個HTML頁面),這個檢視通常用於顯示登入表單,讓使用者輸入使用者名稱和密碼等資訊。
    /**
     * 跳轉到登陸頁面
     * @return 登陸頁面
     */
    @GetMapping("/loginPage")
    public String loginPage(){
        return "login";
    }
5、登入介面
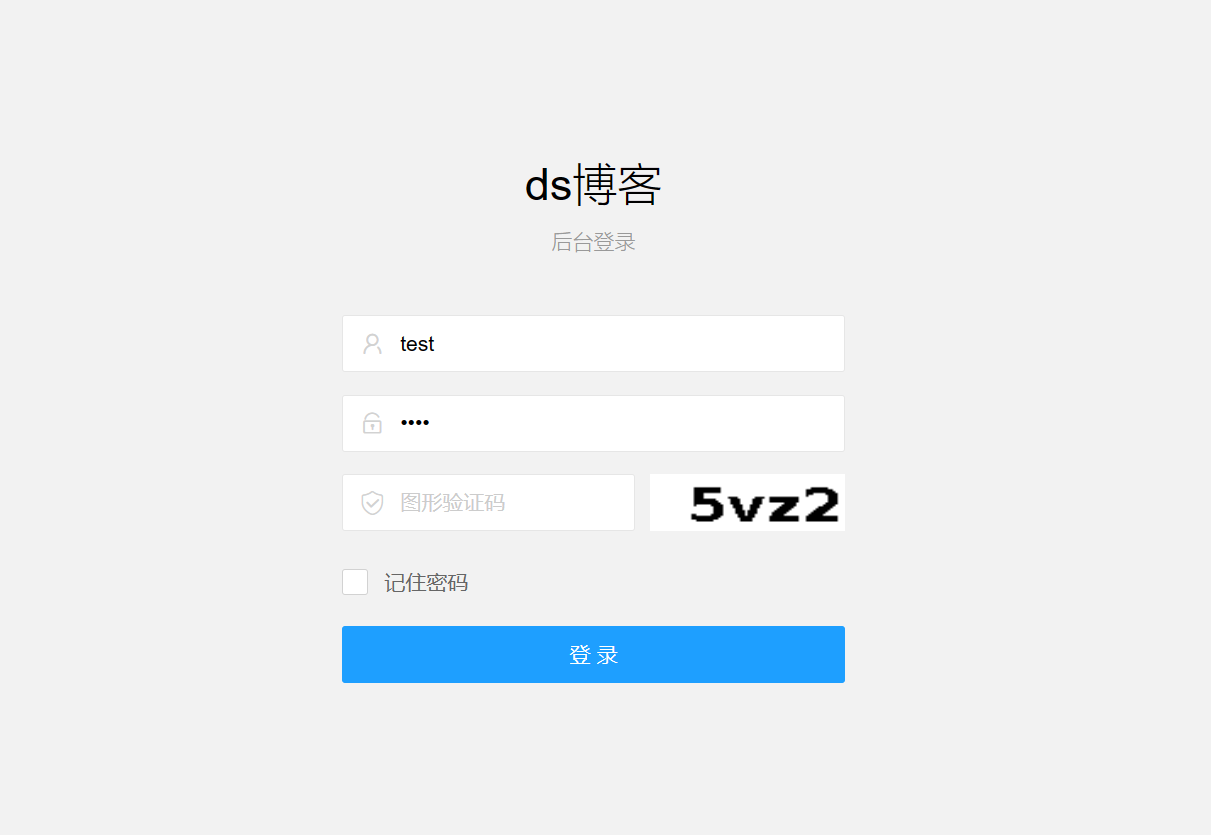
在Web頁面上實現一個圖形驗證碼的輸入功能
- HTML部分:
- 建立一個表單項,內部包含兩列(使用layui的柵格系統)。
- 在第一列中,有一個標籤和一個文字輸入框。標籤用於顯示一個驗證碼圖示,輸入框用於使用者輸入圖形驗證碼。
- 在第二列中,有一個圖片元素用於顯示圖形驗證碼圖片。
- JavaScript部分:
- 設定layui的靜態資源路徑和主入口模組。
- 初始化時,呼叫
getImgCode函數載入驗證碼圖片,並渲染表單。 getImgCode函數通過Ajax請求從伺服器獲取驗證碼圖片,並將其顯示在頁面上的圖片元素中。
這段程式碼主要利用了layui框架來實現頁面的佈局和互動,同時通過JavaScript和Ajax實現與伺服器的通訊,以獲取並顯示圖形驗證碼。
<div class="layui-form-item">
    <div class="layui-row">
        <div class="layui-col-xs7">
            <label class="layadmin-user-login-icon layui-icon layui-icon-vercode"></label>
            <input type="text" name="code"  lay-verify="required" placeholder="圖形驗證碼" class="layui-input">
        </div>
        <div class="layui-col-xs5">
            <div style="margin-left: 10px;">

                <img id="codeImg" class="layadmin-user-login-codeimg">
            </div>
        </div>
    </div>

    <script>
 	layui.config({
        base: '/static/layuiadmin/' //靜態資源所在路徑
    }).extend({
        index: 'lib/index' //主入口模組
    }).use(['index', 'user'], function(){
        let $ = layui.$,
            form = layui.form;
        // 初始化
        getImgCode();
        form.render();
    }
    /**
     * 獲取驗證碼
     */
    function getImgCode() {
        let url = ctx + '/getImgCode';
        let xhr = new XMLHttpRequest();
        xhr.open('GET', url, true);
        xhr.responseType = "blob";
        xhr.onload = function() {
            if (this.status === 200) {
                let blob = this.response;
                document.getElementById("codeImg").src = window.URL.createObjectURL(blob);
            }
        }
        xhr.send();
    }
    </script>
6、驗證碼過濾
校驗驗證碼的過濾器,基於Java的Spring框架。
- 該過濾器繼承了
OncePerRequestFilter,確保每次請求只被過濾一次。 - 在
doFilterInternal方法中,它首先檢查請求是否是登入請求(通過檢查請求路徑是否為"/login"以及請求方法是否為"POST")。 - 如果是登入請求,它會呼叫
validate方法來校驗驗證碼。 validate方法從請求中獲取驗證碼,然後與對談中儲存的驗證碼進行比對。如果驗證碼不存在、為空或不匹配,將丟擲異常。- 如果驗證碼校驗失敗,過濾器會捕獲異常,並向響應中寫入錯誤資訊(以JSON格式)。
- 如果請求不是登入請求,過濾器不會進行驗證碼校驗,直接讓請求繼續向下執行(通過呼叫
filterChain.doFilter)。 - 如果登入請求成功通過驗證碼校驗,程式碼會繼續執行後續的過濾器或處理器。
@Component
public class ValidateCodeFilter extends OncePerRequestFilter {
    @Override
    protected void doFilterInternal(HttpServletRequest httpServletRequest, HttpServletResponse httpServletResponse, FilterChain filterChain) throws ServletException, IOException {
        // 登陸請求
        if ("/login".equals(httpServletRequest.getServletPath()) &&
                "POST".equalsIgnoreCase(httpServletRequest.getMethod())){
            try {
                validate(httpServletRequest);
            } catch (Exception exception) {
                httpServletResponse.setCharacterEncoding("utf-8");
                httpServletResponse.setContentType("application/json;charset=UTF-8");
                PrintWriter writer = httpServletResponse.getWriter();
                writer.write(JSON.toJSONString(Result.failure(exception.getMessage())));
                writer.flush();
                return;
            }
        }
        // 不是一個登入請求,不做校驗 直接通過
        filterChain.doFilter(httpServletRequest, httpServletResponse);
    }

    private void validate(HttpServletRequest request) {
        String code = request.getParameter("code");
        if (StringUtils.isBlank(code)){
            throw new RuntimeException("驗證碼不能為空");
        }
        Object checkCode = request.getSession(false).getAttribute(ConfigConsts.IMAGE_CODE_SESSION);
        if (Objects.isNull(checkCode)) {
            throw new RuntimeException("驗證碼不存在");
        }
        if (!StringUtils.equalsIgnoreCase(code,checkCode.toString())) {
            throw new RuntimeException("驗證碼不匹配");
        }
        request.getSession(false).removeAttribute(ConfigConsts.IMAGE_CODE_SESSION);
    }
}
7、整合mysecurity
整合Spring Security的安全設定類,用於Web應用的安全性設定。
- 通過
@EnableWebSecurity和@Configuration註解,啟用並設定Spring Security。 - 使用
@EnableGlobalMethodSecurity(prePostEnabled = true)來啟用全域性方法級別的安全性,允許使用例如@PreAuthorize和@PostAuthorize等註解。 - 定義了一個名為
MySecurityConfig的設定類,該類繼承自WebSecurityConfigurerAdapter,用於客製化安全性設定。 - 通過
@Autowired注入了一個名為validateCodeFilter的驗證碼過濾器範例。 - 在
configure(HttpSecurity http)方法中,對應用的安全性進行了詳細設定:- 允許所有人存取
/loginPage和/getImgCode這兩個路徑,不進行任何安全檢查。 - 對所有其他請求,需要使用者進行身份驗證(即需要登入後才能存取)。
- 在使用者名稱和密碼驗證過濾器之前,新增了一個自定義的驗證碼過濾器(
validateCodeFilter),用於在登入過程中校驗驗證碼。
- 允許所有人存取
這段程式碼的主要目的是增強Web應用的安全性,通過新增驗證碼校驗來防止自動化登入嘗試和暴力破解,並限制了只有經過身份驗證的使用者才能存取應用的受保護資源。
@Configuration
@EnableWebSecurity
@EnableGlobalMethodSecurity(prePostEnabled = true)
public class MySecurityConfig extends WebSecurityConfigurerAdapter {
	@Autowired
    private ValidateCodeFilter validateCodeFilter;

    @Override
    protected void configure(HttpSecurity http) throws Exception {
        http.authorizeRequests()
                // 放過
                .antMatchers("/loginPage", "/getImgCode").permitAll()
                .anyRequest().authenticated()
                .and()
                // 過濾登入驗證碼
                .addFilterBefore(validateCodeFilter, UsernamePasswordAuthenticationFilter.class)
    }
執行結果如下: